
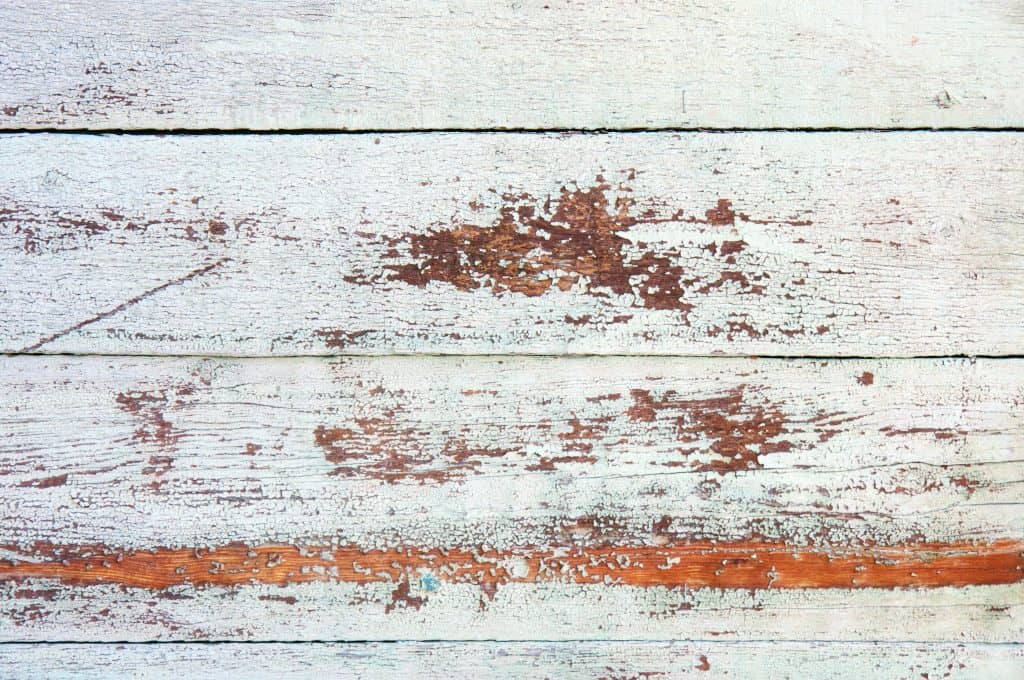
The ability to put shiplap over drywall is an important question to ask when remodeling a home. Shiplap gives interest and texture to a room, but we don’t want to have to tear out an existing piece of drywall to make our vision a reality.
Does Shiplap Go Over Drywall? You don’t have to put your shiplap over drywall if there isn’t existing drywall already in place. However, if you are simply remodeling a room, you can certainly put shiplap over existing drywall. Either option is relatively simple but requires a few different precautions mainly revolving around locating the studs.
There are many ways in which you can incorporate shiplap into your home. Whether adding it on top of drywall or creating a wall made purely of shiplap and nails, there are ways to accomplish your vision.
(Before we get into the rest of this article I just want to mention that one of my favorite websites that has a lot of great tips on home styles and trends is HomeandGardens.com. If you are doing a DIY update or redesign, or just looking for great ideas, check them out!)
Putting Shiplap Over Drywall
Home renovation shows have certainly amplified the fascination with shiplap inside of a home. It allows a room to have more character, charm, and comfort.
Deciding to add shiplap to a room can seem like a huge undertaking, but don’t worry too much about your ability to put it straight on the preexisting drywall.
Breaking up your boring room with shiplap is not an impossible feat. It may actually make the process easier for you to have the wall as a guide.
Using the drywall you already have in place as a jumping off point is certainly possible when installing shiplap!
The issues you may run into are if you don’t take the time to locate studs behind the wall. These are the posts that you want all your shiplap to be anchored to for stability and longevity.
An important question to ask yourself when putting up your shiplap is if you want the boards to hang horizontally or vertically.
Laying the boards horizontally is the more popular choice and allows you easy access to the studs hiding behind the drywall. Using a stud finder/sensor to mark the places where studs are located can help smooth out your process.
The materials you will need for this undertaking include:
- ship lap materials
- stud finder/sensor
- chalk or pencil
- nails
- nail gun
- heavy duty adhesive for interior use
- A 1/8 inch thick separator (framing square, paint stick, coin, etc.)
Starting off, you’ll want to locate and mark the center of all of your 2x4s so you can know exactly where to place your nail. After finding all the studs, you will want to use the adhesive to stick the shiplap to the wall. The extra adhesive will allow you a stronger hold for your base piece.
Make sure your starting board is level to help easily guide you up the wall without going completely cattywampus.
The 1/8 inch thick material you decide to use for your separator, whether it be a paint stick, a framing square, or a simple coin, will help guide you where to place your next piece of shiplap.
The most important thing you’ll want out of your project will be an even leveling of the shiplap material. This can be accomplished with a level and an even separator. A coin is popular because everyone has them laying around their cars, homes, and pockets.
Paint sticks are also very popular because they are cheap (or free), and a framing square is very useful if you happen to have one handy.
The reason for a separator is mainly to give you that great look and feel of shiplap design. Here’s a video showing a shiplap installation in a large home, if you’re curious to see how the process happens.
Something else you may want to consider is the color of your drywall when you put gaps in the shiplap. If, for any reason, you decide to have darker shiplap, a white drywall behind it will ruin the look especially with the separators being used.
You may want to think about covering or painting the drywall first to help carry your color scheme out fully.
A nail gun is recommended because it is easy to rent and makes the job quick and efficient. You’ll want to make sure the nails are long and can easily reach through the shiplap and drywall all the way to the wood beneath.
After you have covered the wall(s) with your shiplap you have the option to either leave the nails exposed (to give the more authentic and rustic look) or to cover them up for a smooth finish. There are plenty of tutorials and suggestions online to get you through the finishing process.
Sometimes you may find yourself using relatively thick pieces of wood which may add a bit of depth to your walls. It may not be a huge issue for you, but make sure to take the changes into consideration.
This is definitely a project that you can do without the help of a professional. Deciding to add shiplap to an existing drywall is simple and easy. As long as you make sure to keep the boards level and locate the studs, you’ll have easy sailing until you have the walls you dreamed about!
Shiplap Without Drywall
If you are building a house from the ground up, or are simply creating a new wall in a home, you may think about putting shiplap up without the hassle of drywall as a base.
This option is just as simple as putting it on top of the drywall. Creating a new wall from scratch may benefit your pocketbook when adding shiplap becaus eoyu won’t have to purchase both drywall and shiplap.
This will also save you a lot of time! The downfall of choosing to put shiplap up on its own is if you ever want to change it it will require more renovating. You will end up with that extra expense either way because you would have to take down the shiplap and add drywall which is a messy process.
Shiplap is very easy to install on a bare frame. You simply have to line up your starter board, level it, and nail it straight into the 2x4s!
The supplies you’ll need are almost identical to what you need when installing them on drywall, minus the adhesive.
What you need
- level
- shiplap
- saw
- tape measure
- nail gun
- paint (possibly)
With this method, you won’t want to have any gaps between your boards because there is no drywall behind it to seal it up.
The Home Depot Blog has an easy tutorial and supply list that can help you visualize the process of putting up shiplap onto a bare frame.
The texture and interest that shiplap adds to the walls of a room is well worth the effort it takes to put them up!
Deciding which method to use when putting up shiplap almost entirely depends on what stage of building your house is in. If you are putting up walls to create your home, you probably will find putting up shiplap directly will save you time and money.
If you are changing the look and feel of your already existing wall, then don’t worry about having to take down any drywall! You can put your shiplap directly on it with ease and little frustration.
Shiplap is great because it is beautiful, sturdy, and functional. A lot of people find that they like the ability to hang pictures firmly without having to search high and low for a stud.
It’s easy to install, isn’t very messy, and is relatively cheap. Modifying your home can give it the look and feel you dream about! It can be easy and beautiful if you take the time to do it right!
Related Questions
Is Shiplap cheaper than drywall? For the interior of your home, drywall will end up being cheaper than shiplap. It gets more expensive when you add all of the extra tools and bits to either order. The cost of either choice will differ, and increase, once you look past the simple base cost of each material.
What is so special about shiplap? Shiplap is commonly found on the exterior of structures such as barns or sheds. It has become more popular for interior use because it adds character, texture, and visual appeal to the walls of a home. This design choice is typically made by homeowners who want a rustic feel.