
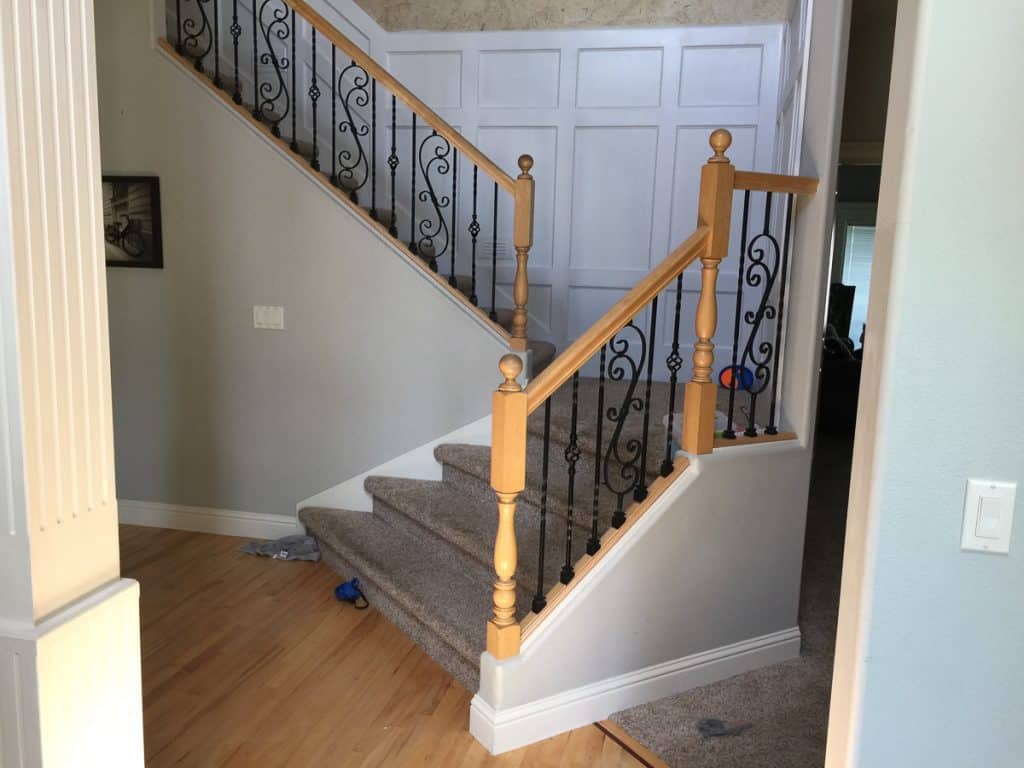
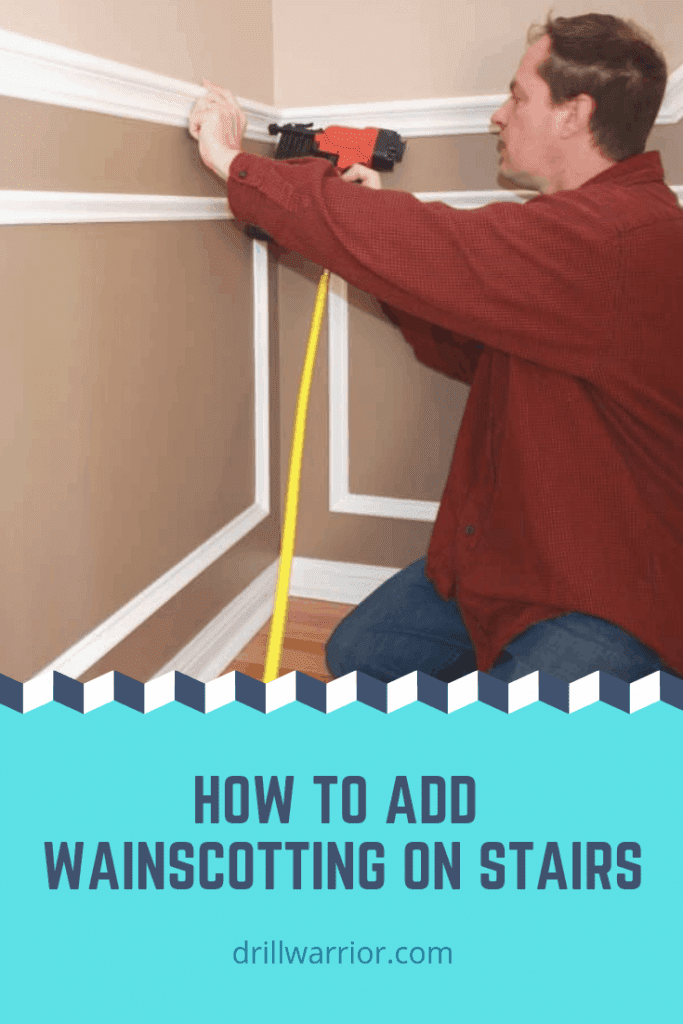
Adding wainscoting down the wall side of an ordinary staircase will transform your stairs into a focal point that adds beauty to your house as well as value.
So how do you install wainscotting on stairs? The method of installing wainscoting down the wall side of the stairs uses the same construction techniques as a straight wall; however, the difference is the cutting. Wainscoting panels have to be cut to the angle of the stairs.
If this is your first time installing wainscoting on stairs, beadboard wainscoting is the easiest type of wainscoting to install because there are no extra molding or shadow boxes to cut and install. This guide will make installing wainscoting less intimidating and give you the confidence that you need to do it yourself.
(Before we get into the rest of this article I just want to mention that one of my favorite websites that has a lot of great tips on home styles and trends is HomeandGardens.com. If you are doing a DIY update or redesign, or just looking for great ideas, check them out!)
Here are the things that you’ll need:
- Wainscoting
- T-bevel square
- Level
- Mitre saw
- Tape measure
- Stud finder
- Hammer
- Rubber mallet
- Finish nails
- Molding
- Paint or stain
- Painter’s tape
- Caulking/Liquid nails
- Paintbrush and small roller
- Wood putty
- Sandpaper or sanding sponges
Follow these 10 steps for easy DIY wainscoting installation.
Step 1
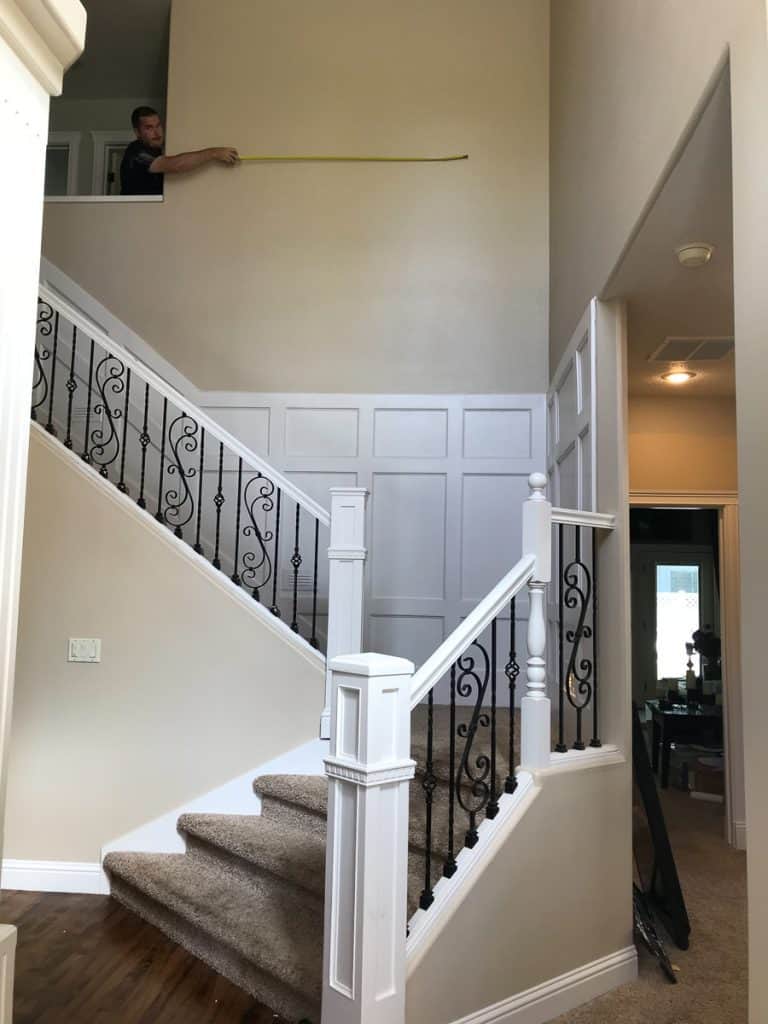
To determine the amount of wainscoting you need, measure the stairs length. Start by measuring horizontally from the top step and ending at the tip of the bottom step. Additionally, avoid measuring straight down the stairs slope.
Step 2
Position your level vertically on the top of the skirt-board or baseboard between the wall and the stairs. Place it so the bubble is vertically level, and the level’s corner should be resting on the angle of the skirt-board or baseboard.
Step 3
Place a sliding T-bevel square so the blade is against the level, and the handle is on the slope of the baseboard. Verify that your level is straight and find your angle on the T-bevel square.
Step 4
Adjust the miter angle of the saw blade to the angle you found on the T-bevel square. It’s always a good idea to run a couple of test cuts with a scrap piece of plywood before you make an expensive cut. Then take your test cut and place it on the baseboard to ensure the angle is correct.
Step 5
Find the wall studs by using a stud finder or by locating one stud with a nail in an area where it will be covered by the wainscoting, and measure every 16 inches to find all of the wall studs. Use a piece of painter’s tape above the installation area and mark the location with a pencil.
Use can also use your level to make a straight line down to the stair treads, and place another piece of painter’s tape on the stair tread and make another mark. This ensures a nice visual of where the stud is located in the wall vertically.
Step 6
Position the first piece of wainscoting on your table saw with the lines on the wainscoting laying across the table saw. Then, start the cut at the top corner, and push the wainscoting through the blade from one end to the other. Rotate the wainscoting 180° and position the new corner into the table saw.
This new corner should be the corner that is diagonally across from your first corner. Once you’re done with your cuts, the wainscoting should have two angled edges and two straight edges, which is known as a parallelogram. The straight edges should be on the sides of the wainscoting, and the angle cuts should be on the top and bottom of the wainscoting.
Step 7
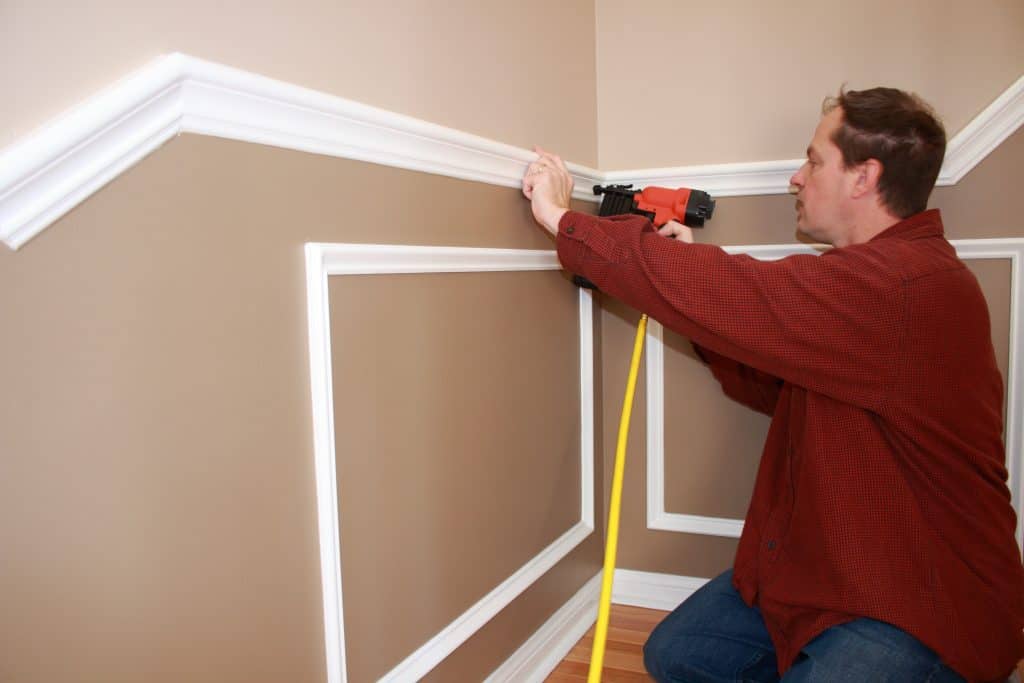
Squeeze liquid nails in a zigzag pattern on the backside of the wainscoting. Place your first piece at the bottom of the stairs, and secure it into place by using finish nails. Then, work your way up the stairs, one piece at a time. If you are installing tongue-and-groove planks, install the first plank with liquid nails on the backside with the grooves facing up the stairs. Apply liquid nails to the backside of your next plank and continue up the stairs while nailing planks that land on a stud.
Step 8
Pound the wainscoting with a rubber mallet or the back of your fist for good adherence to the wall. You can also apply some pressure by using both of your palms and hold it for a few minutes. This will push the liquid nails around and create suction.
Step 9
Nail molding on the top edge of the wainscoting to create a nice finished edge with finish nails and a thin line of liquid nails in the groove where the top of the wainscoting meets the wall. There are some varieties of molding that you can use to customize your wainscoting like chair-rail, half-round and crown molding as well as others.
Step 10
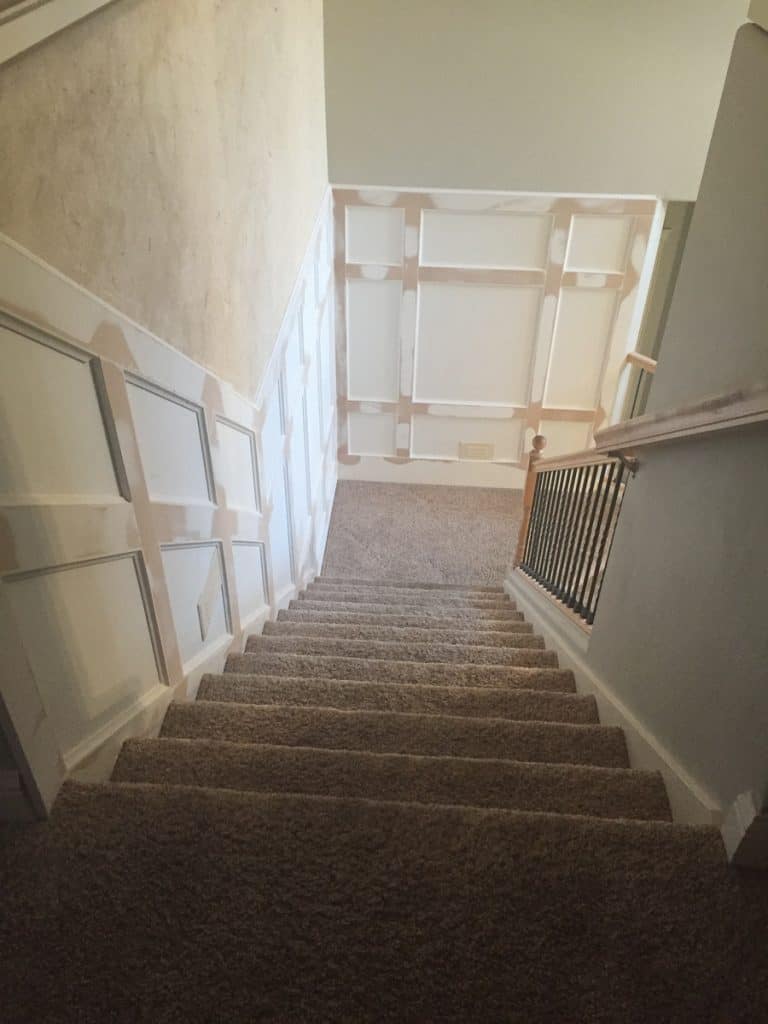
Finishing off your wainscoting by staining or painting it. Use painter’s tape on the wall at the top of the molding to prevent any paint or stain from getting on your walls. Then, use painter’s tape to go along the entire bottom edge of the wainscoting for one continuous line going up the risers, over the bull-nose and across the treads.
Tips for Painting or Staining Wainscoting
A good tip once the painter’s tape is installed is to use a heavy-grade of construction paper and cover at least half of the stair treads facing the wall. This will prevent any drips or accidents from landing on your finished stairs and provide a comfortable working area.
Staining
It’s always best to use a deep penetrating stain on bare wood. Let it dry and apply one coat of polyurethane. Now that the wood is protected, you can use wood putty that matches your stain color and fill the nail holes. Then use colored caulking that matches your stain color as well and caulk all of the lines. If you don’t poly the wood before you putty and caulk, the putty and caulking will make stains in the wood that you don’t want.
Let everything dry overnight, then sand the entire surfaces and wipe clean with mineral spirits. Now, you can add a finish coat of polyurethane. For a smooth, glass-like finish, lightly sand the finished wainscoting with a fine sanding sponge and wipe with mineral spirits.
Painting
If your wainscoting is pre-primed, you can skip the priming process. If it’s not pre-primed, you will need a product like oil-based Kilz for the best results on bare wood. Kilz dries fast and is an excellent primer for bare wood. Once the Kilz is dry, you can caulk the lines and fill the holes with wood putty. Let the caulking dry overnight because if you don’t, the paintbrush will dig out all of your hard work.
Use your paint brush to cut in all of the edges and use a small paint roller with a very fine nap to cover the rest of the wainscoting. For best results, paint in vertical lines from one end to the other while feathering out any paint lines as you go. Let the first coat dry and apply the finish coat. Oil-based paints are the most durable as far as being chip resistant and scratch resistant as well as ease of cleaning. If you’re using a water-based paint like latex, use semi-gloss paint for the best protection.
The most important tip for installing wainscoting is to measure twice before you make a cut and take your time.