
Its important to know how to install your Nest, if it will need a battery or if it needs to be hardwired. Knowing this can help you set up your Nest easily and if you need professional help or if you can do it yourself.
Does Nest Hello have a battery or is it just hardwired? Nest Hello
The Nest Hello needs a certain voltage in order to be connected with your home. As we continue on, we will discuss more on how to make your home ready and able for Nest Hello to work properly.
Requirements for Nest Hello to be Installed
In order to install Nest as your doorbell, you will need to first check the voltage to ensure that your doorbell will work. If you only currently have a battery powered doorbell, you will need to have wires and chimes installed before attaching Nest.
First, if you don’t already have a doorbell or have an intercom system, you will need to contact Nest Pro help. They will help you get started with figuring out to install Nest Hello.
If you do have a doorbell already, you will need to check its voltage.
The voltage you need for Nest to work is 16-24 VAC and at least 10 VA for America. For Europe, 12-24 VAC and at least 8 VA. If you’re like me, when I first heard this I was wondering, how can I check what voltage I have? The doorbell looks like a normal doorbell. Does that count?
How to Find the Voltage for Nest Hello
So the way to check and see what voltage it could possibly be, I would first check under the doorbell chime’s cover. You gently pull off the top to check the wires inside. If it’s not gently coming off, this may be because it needs to unscrewed. It just depends on your doorbell.
If there are two wires or multiple wires, according to Nest.com, it will usually work with Nest. Even if you see batteries, it doesn’t mean it won’t work at all. As long as there are wires, that’s a good thing. You are on the right track!
Again if there aren’t any wires, only batteries, you will need to talk with an electrician about wiring you up and ready for Nest.
It is also important to see that the wires say
Now that you’ve figured out if you have wires connecting your doorbell, you can check the wires for the voltage. There are three ways you can check the voltage: Using a multimeter, contacting an electrician, or finding the transformer’s voltage.
If you simply contact an electrician or a Nest Pro in the area then you will easily figure out what your voltage is and measure it for you. Not only will they measure it for you, but they can also install Nest Hello if you’d rather not do it on your own. Definitely saves you some time and hassle trying to figure it out!
How to Find the Voltage Using the Transformer’s Voltage
The transformer’s voltage is usually on the side of the box. According to some people, this can be really hard to find, so it may take some time. It could possibly be inside the doorbell or by the breaker.
When looking at the transformer label, if you don’t see a label or if it is less than 16 volts in America and lower than 12 volts in Europe, you will need to contact help to upgrade it. Even if it’s over 24 volts, it won’t work with Nest Hello and will need to be looked at by an electrician.
Check Voltage with a Multimeter
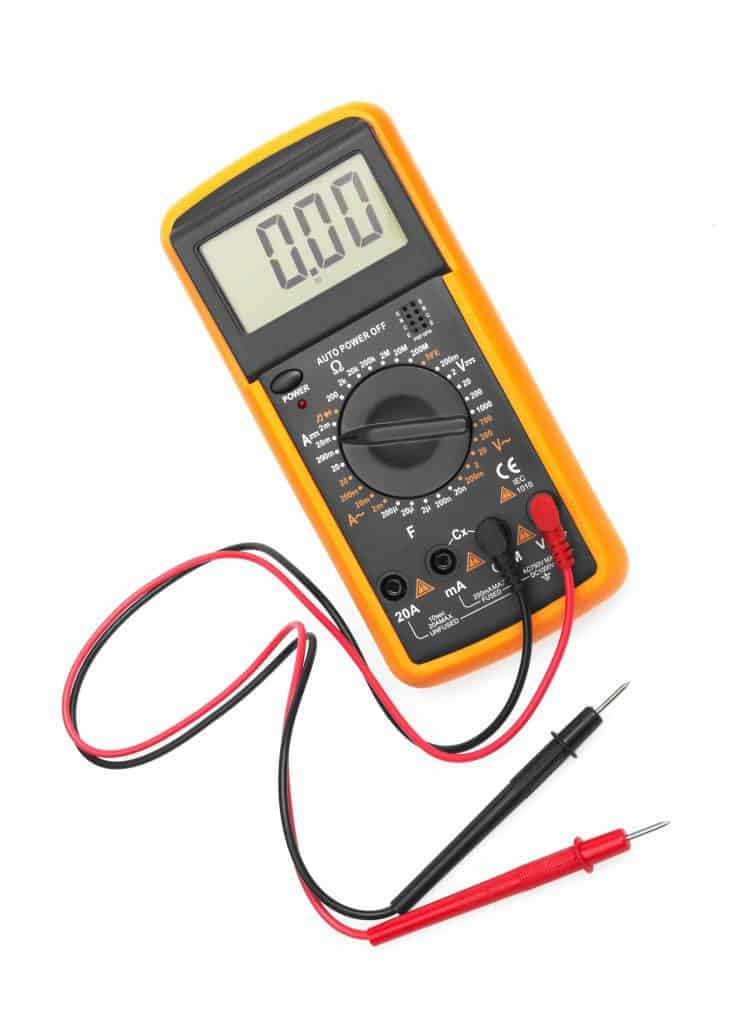
If you are checking with the multimeter, you will need to use one with metal probes. If you choose this option, be careful because there are chances you could get hurt if the wires are handled in the wrong way.
So first take off the doorbell and take the wires off the button. The multimeter will come with directions to help you know what to do next for measuring the voltage on the wires.
If it is within the 14 to 30 VAC range, then congratulations, it will work with Nest! If not, you will need to get some help over to upgrade and get the right voltage for Nest.
Nest Hello Requirements and Features
Again, before getting too excited about installing your own Nest Hello, be sure to check that your doorbell is wired with a chime. Nest Hello will take up more power to run so it is vital that the wires are updated and are the right voltage.
Something really cool about the Nest Hello, unlike the other cameras Nest offers, it doesn’t need to be plugged into an outlet since it is connected with the wires in your doorbell, that’s how it gets its power. It connects with the voltage wiring so it can always get constant video of what’s going on outside.
This makes it nice because there’s no worry about charging Nest Hello thanks to it’s connection to the wires instead of with batteries.
It also doesn’t use too much energy, a little more at night because it requires night vision to see what is going on but it will never take too much power.
The nice part about if the power goes out or if your camera somehow gets unconnected, the company will send you an email to let you know.
Inside the Nest Hello Box to Help with Installation
In the Nest box, it will include some helpful tools for installing Nest Hello. It will include a Quick Start Guide which will help you know how to start using the device.
Before you purchase a Nest Hello, it may be good to know the size of the doorbell to know if it will fit for you and your home.
It will be 1.7 inches by 4.6 inches by 1 inch. It will be about 4.55 ounces or 129 grams. The camera is about 1/3 of an inch with great features such as
It also will come with a Chime connector so you will be able to connect your previous chimes to your new Nest Hello. There are also screws, and wall anchors that will help with the installing process.
When you are connecting your Nest Hello, it’s important to connect the chime connector. Once you have the Nest app, it will help direct you with how to connect it.
This is an important part of setting up Nest Hello because it connects to your previous wires and makes it possible for your doorbell to chime and connect to your home and be powered.
While installing your Nest Hello, it will require some drilling to get the Nest Hello to mount onto the outside of your home. This allows for the doorbell to stay on and secure. This can be done with a power drill.
Again if you have difficulties or are uncertain about how to do it, contact an electrician or local Nest Pro for help. They can even install it for you!
Don’t let the installation part get you down, once you have Nest Hello, you won’t regret it! Even if it took you all day to figure it out or if it took all day to muster the courage to call and ask for help, it will be worth it.
Related Questions:
Does Nest Hello work without a subscription? Nest Hello can be accessed and works well without a subscription. However, the subscription provides several neat features that cannot be obtained without it. If you choose to not purchase the subscription, there were will be features that are unavailable for you.
Does Nest need to be plugged in? It depends on the product from Nest you are using. For Nest Hello, it needs to be wired to the doorbell and does not require charging outside of that. For other cameras, it may need to be plugged or charged in different ways.