
Ring doorbells are a great way to keep your home and family safe. But if you want to change the look of your ring doorbell, you may find yourself wondering how to remove the doorbell cover.
Don’t worry! Removing the cover is easy and only takes a few simple steps. In this article, we’ll show you exactly how to remove a Ring Doorbell cover.
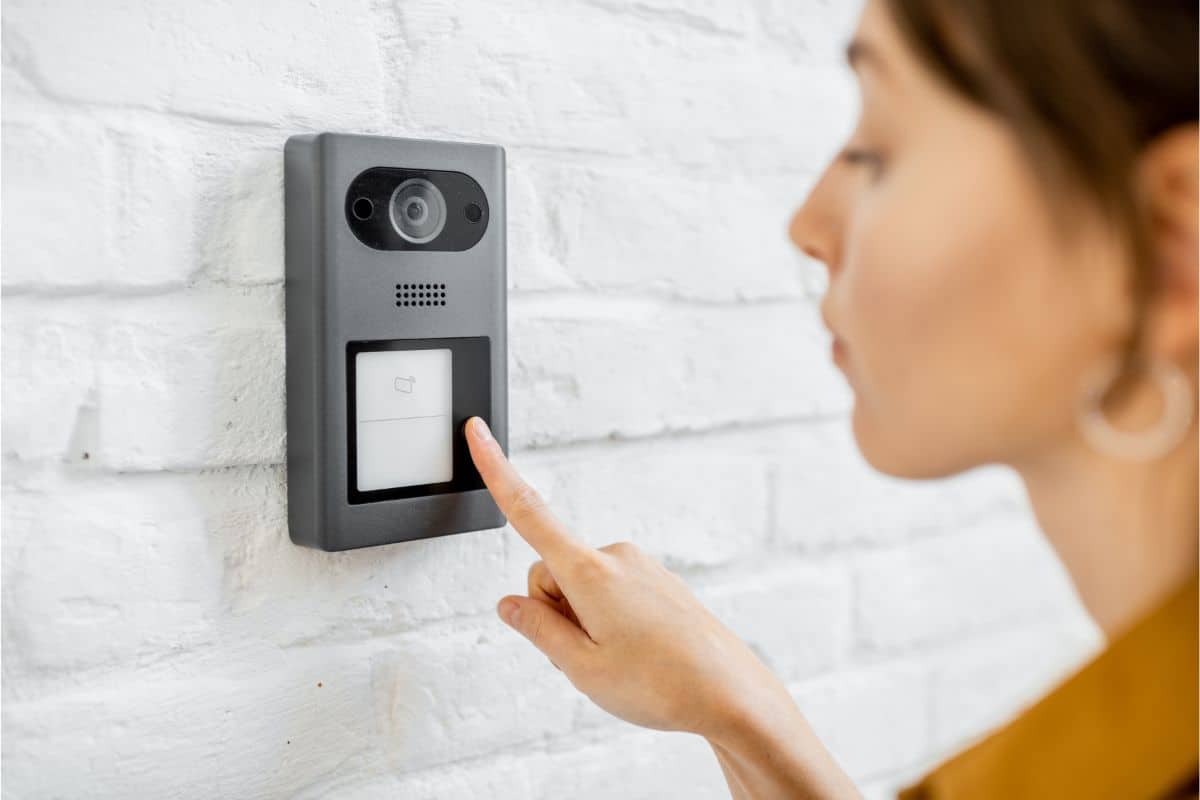
How Exactly Do You Remove The Cover On Your Ring Doorbell?
Removing the faceplate from a Ring Doorbell can be a daunting task, but with a few simple steps, it is easy to do.
Step 1
First, you must identify which model of Ring Doorbell you have. Not all models have a removable faceplate, so make sure that yours does before you begin trying to break it off.
Step 2
Once you have identified your model, start by unscrewing the safety screw located at the bottom of the faceplate with a Ring screwdriver.
This process should not take long, however, if for any reason it does and the faceplate is still giving you trouble then double-check that your model has one.
Step 3
Removing the Ring doorbell from the wall is an important step if you’re planning on replacing it or upgrading your system. All models of the Ring doorbell are attached directly to the wall with four Phillips-head screws, two on each side.
To remove these, either uses the Phillips head bit attached to the provided screwdriver or your own drill with a corresponding bit. Starting from one side, carefully unscrew each screw until all four are removed, and then gently pull apart the wall plate for easy access.
Step 4
After unscrewing the safety screw, you are now able to slowly remove the faceplate from your Ring Doorbell. The removal process should be effortless as long as the security screw was loosened properly.
Once complete, your Doorbell will instead show an internal mechanism that allows offers connection to power and other on/off items associated with installation directives.
Optional
Removing the battery from your doorbell is not always required for replacing the entire unit, but it may be desirable if you need to recharge it.
The process is actually quite simple; all you need to do is locate the silver, rectangular tab on the bottom of the doorbell labeled “push” and press on it. Once pressed, it should unlock the battery, making it easy to slide out from its compartment.
If you want to get maximum use out of your current battery life, remember to store them in a cool location away from any source of heat or direct sunlight when they are not being used in a doorbell.
Additionally, storing them at room temperature will help preserve their power capacity as time passes and reduces the risk of overcharging.
How Do You Put It Back On?

Putting the Ring Doorbell faceplate back on its base is a fairly simple process. Most people will remove the faceplate in order to charge their device’s battery, however, that isn’t always necessary.
Once the battery is full, you should replace the faceplate as quickly as possible for optimal performance.
To do this, simply slide the battery into its slot then align the faceplate with the base and apply pressure until it snaps into place.
If you don’t need to charge your Ring Doorbell and are just replacing the faceplate as part of regular maintenance, then this step can be easily skipped.
Taking precautionary measures such as placing your doorbell’s faceplate back onto its base after use can help to ensure that you get reliable performance from your device.
This ensures that no dirt or other foreign objects will enter into any of its electronic components, while also protecting it from damage caused by extreme temperatures or accidents.
Knowing how to correctly place the doorbell’s faceplate back onto its base can help to keep your device functioning at its peak level, regardless of weather conditions or other external factors.
What Should You Be Aware Of Before Removing Your Ring Doorbell Cover?
While working with power tools near wiring can be daunting, just remember to take precautions such as wearing eye protection and testing if cables need to be disconnected first before handling them.
Ensure you’re familiar with any local building codes in your area before handling any electrical work, such as removing your Ring doorbell from walls.
If you’re not comfortable completing this task, then it would be wise to seek help from a qualified electrician who can safely remove the doorbell.
What Are The Different Types Of Ring Doorbells?
Wired
Wired ring doorbells are a great choice for adding a modern look to your home. They allow you to stay connected and see who’s at the door from anywhere in the world.
They have a built-in advanced motion detection system, which can alert you when there’s activity near your door.
This allows for preventative security measures and improved peace of mind. Additionally, wired ring doorbells also provide HD video recording which can be replayed in 1080p resolution, so you can get an up-close look at what happened around the house.
Battery-Powered
Battery-powered ring doorbells have been developed for your home, making it easier than ever to keep an eye on who is coming and going. They offer easy installation, with no wiring required.
This type of doorbell sends alerts to your smartphone when someone is at the door, so you can see and speak to visitors even if you’re not there.
They also have motion sensors that detect movement around your house and send a notification for added security.
Final Thoughts
Removing the ring doorbell cover is a simple process that can be completed in just a few minutes. However, it is important to take precautions such as wearing eye protection and disconnecting cables before handling them.
Additionally, depending on what type of ring doorbell you have, there are different methods for removing and replacing the faceplate. Taking these steps can help ensure your device performs at its peak level and functions properly.